|
Please note that this is a very old tutorial. Although many of
the components shown here are quite obsolete nowadays, the tutorial is still
useful, and the technique is still much the same.
Perhaps you have decided to upgrade
your motherboard, or perhaps your motherboard has
just stopped working? This guide contains the basic
steps required to replace a motherboard.
The pictures used in this article were taken while I was
replacing the motherboard on my main system.
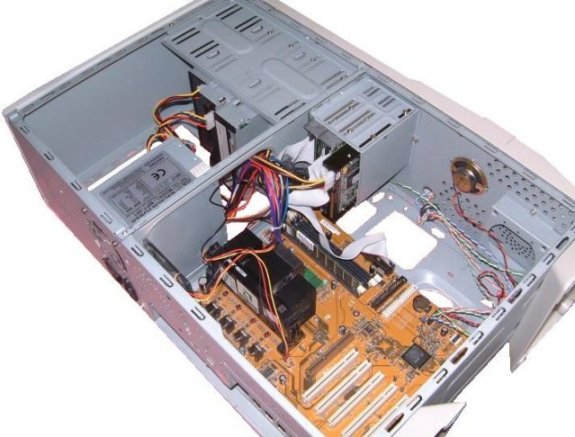
Remove The Cover From The System
First of all you have to take the cover off your system, this
should be pretty self explanatory! After you have done that, you will have to
remove the ISA and PCI devices, and the IDE and Floppy cables.
Remove The Power Connector
After you have removed all the
devices, you will have to remove the power
connector.
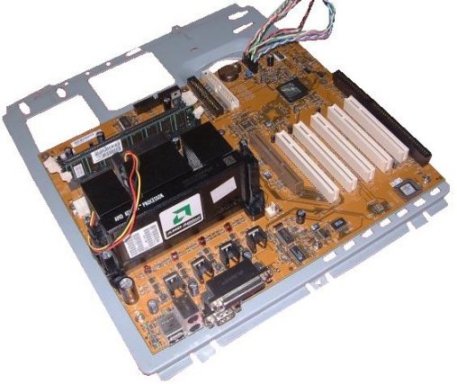
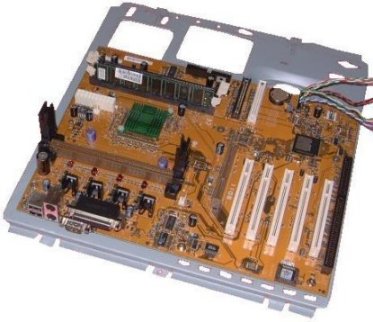
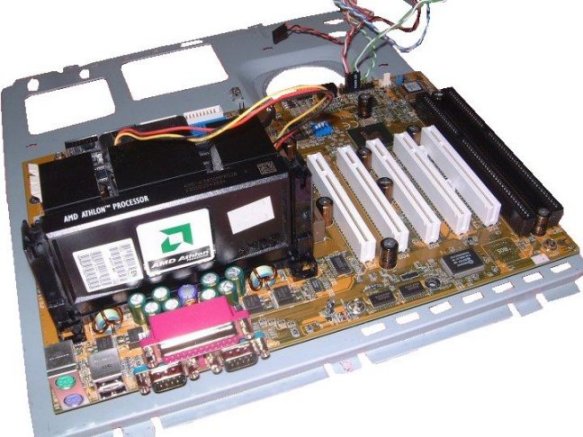
Remove The Motherboard Frame
With the power connector removed,
the motherboard mounting frame can now be removed.
Simply remove the screws that hold it in place, and
gently remove the frame, as in the picture below:
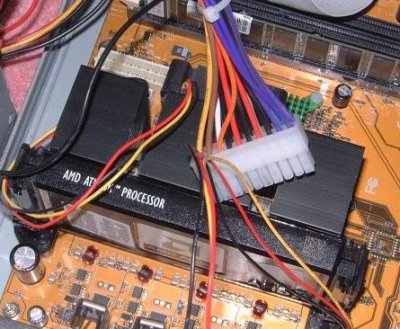
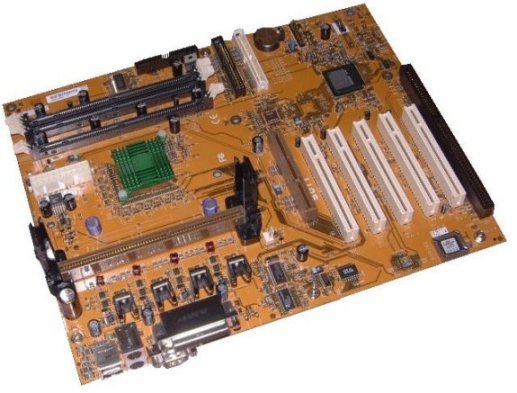
Remove The Processor
This is a Slot A motherboard, with
an Athlon 800mhz on it. These processors are removed
by releasing the clips at the top, and lifting them
off the board. Socket A and similar processors are
removed by lifting the large lever at the side of
the processor, and removing the processor from the
board.
Remove The Memory
With the processor removed, you will
now need to remove the memory. There are clips at
either side of the memory module, simply push them
to one side, and remove the module. Make sure that
you put it in an anti-static bag, to avoid damage by
static electricity. After you have done this, the
wires that connect to the case, for example the
power switch, power LED and things like that, will
have to be removed.
Remove The Motherboard From The Frame
Now simply remove the screws that hold the motherboard in place,
and remove the board.
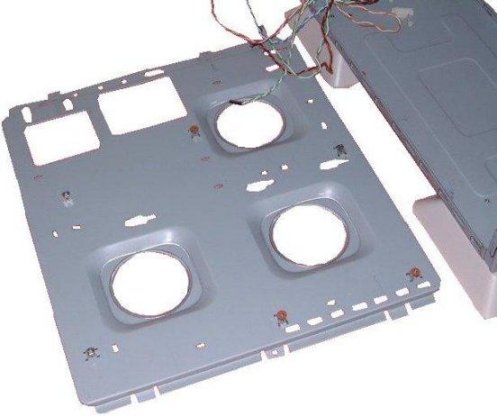
You will have to make sure that the mounts on the frame can take
the new motherboard, some of them may have to be moved.
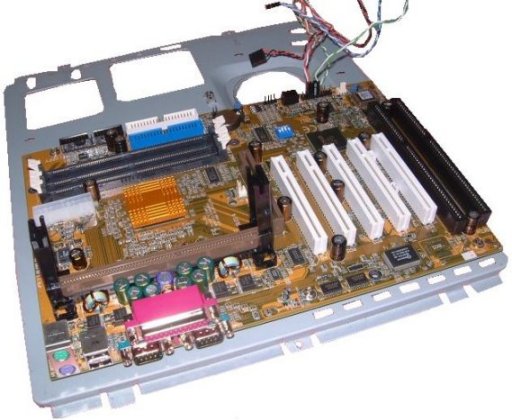
Place The New Motherboard Onto The Frame
Now you can place the new
motherboard onto the frame, and screw it into place.
Replace Processor And Memory
Simply place the processor back into
place, and place the memory into it's slot, and
re-connect the wires from the case. The motherboard
should have labels on it telling you what wires go
where, if not consult the manual that came with the
motherboard.
Re Assemble Your Computer
You will then need to screw the
frame back into place, then insert all of the
required PCI and ISA devices, and replace all of the
IDE cables.
|
